May 12, 2017
Your Comprehensive Guide To Contouring
Disclaimer: This is not just another makeup contouring blog post. (There, we said it...)
If that's enough to catch your attention and you're still reading this, thank you very much! We understand that there's already a huge wealth of resources out there to teach you how to contour or to help you hone your current contouring skills so you may find it easy to simply skip this one (but of course we suggest you don't!). Contouring used to be a beauty industry secret but it has become a regular part of many women's makeup routine nowadays. Thanks to the hundreds, if not, thousands of makeup artists on YouTube and Instagram, who made professional makeup techniques, including contouring, pretty much accessible for everyone. This is where it gets a little technical -- With so many contouring tutorials available, which one will work for you? To make sense of how contouring actually works, we sat down with Luxie's makeup educator, Evelin, (IG: @makeupby_ev21) to decode the art of placing shadows on the forehead, cheekbones and jawline to enhance your best features. After reading this post, we guarantee you wouldn't look for another contouring blog post ever again.Identify Your Skin Undertone
The key to make contouring products look natural on you, highly depends on knowing if you have warm, cool or neutral skin undertone. What does this have to do with contouring? Identifying your skin undertone will help you determine the specific colors that will work for you. In order for you to grasp the skin undertone concept, let’s start by identifying your skin’s surface tone which is the color that we normally describe ourselves with: light, medium, medium tan, golden tan, dark and so forth. Look under your wrist and observe the color of your veins. In a nutshell: Warm Undertones- Golden/Olive, Peachy or Yellow tones. Veins are green if you look under your wrist. Cool Undertones - Red, Beige or Pink Tones. Veins are mostly blue. Neutral Undertones - Those with no obvious tones of olive, yellow or pink. Veins are mixture of blues and greens.The Best Contouring Powders
You may notice that many contouring tutorials use cream products but this doesn't mean it's the ideal formula. Makeup artists tend to use cream because it shows up better on camera than its powder counterparts. We highly recommend powder products for contour because it's easier to blend (and lasts a lot longer too). Here are the best contouring powders in our arsenal grouped according to warm and cool undertone categories. Those with neutral undertones can work with any of them.
Warm
- NARS Casino Bronzing Powder ($38.00) - This medium-dark brown bronzing powder has yellow undertones with subtle golden pearlescence. The powder is very soft and silky leaving behind no harsh lines.
- MUFE Sculpting Kit No. 2 ($48.00) - This dual contour and highlight powder compact allows you to create a detailed contour work. The powder matte finish of the medium tan powder ensures you get the definition you need without settling into fine lines.
- Anastasia Beverly Hills Contour Kit Refill in Copper Brown and Java ($14.00 each) - Copper Brown is a red umber color with olive tones hue while Java is a chocolate brown color with intense yellow tones. They can be easily layered for a more dramatic effect.
Cool
- MUFE Sculpting Kit No. 1 ($48.00) - The matte light brown powder portion of this dual contour and highlight powder compact is perfect for subtle definition. You can use the highlighting powder to blend out the edges of your contour seamlessly.
- Anastasia Beverly Hills - Havana, Ash Brown and Carob ($14.00 each) - Havana is a dark russet color with pink undertones, Ash Brown is a cool medium brown and Carob is a deep mahogany color with strong red undertones. These powders feel like butter and blends like no other.
How and Where To Apply Contour?
In the world of contouring, placement is the key. Knowing where to apply your contouring powders will give dimension and depth to your uniform foundation tone leaving you selfie-ready, 100% of the time.-
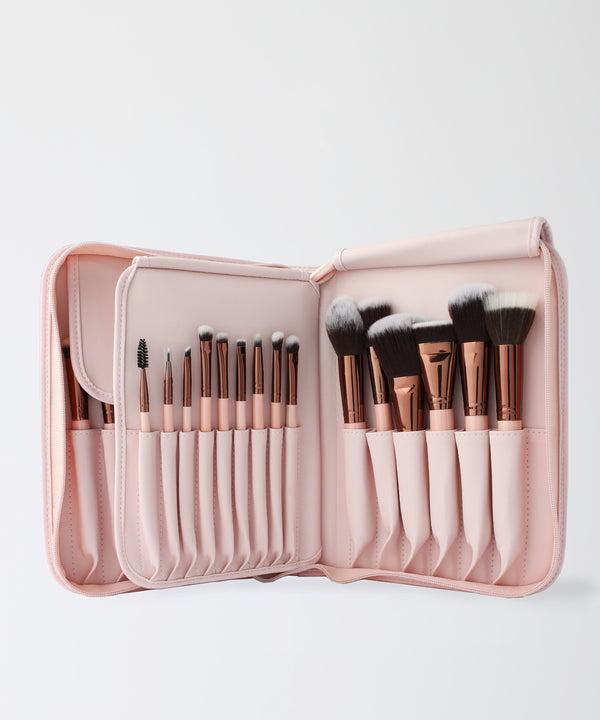
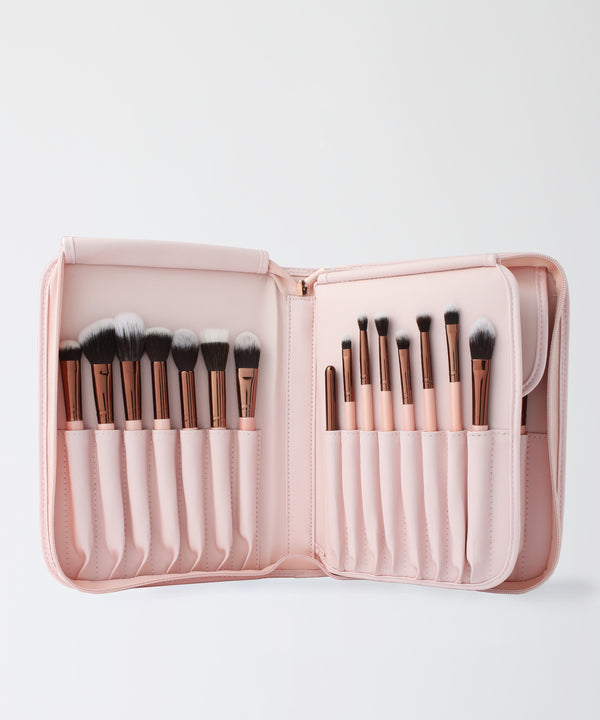
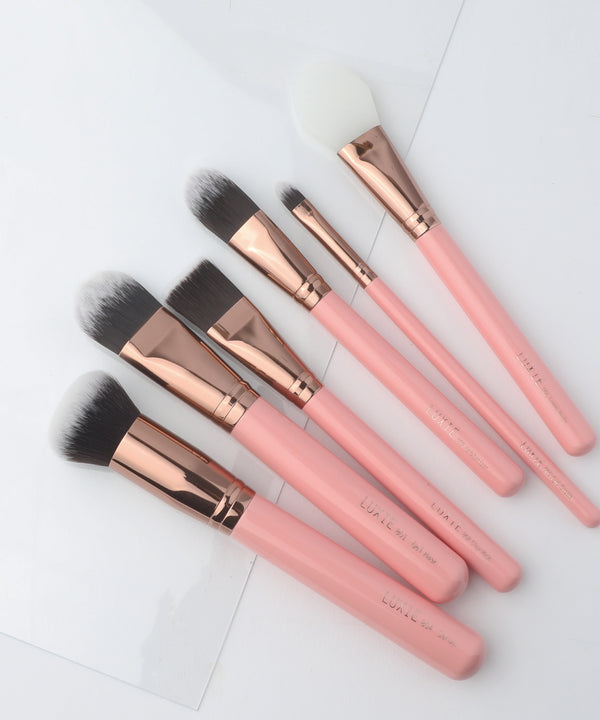
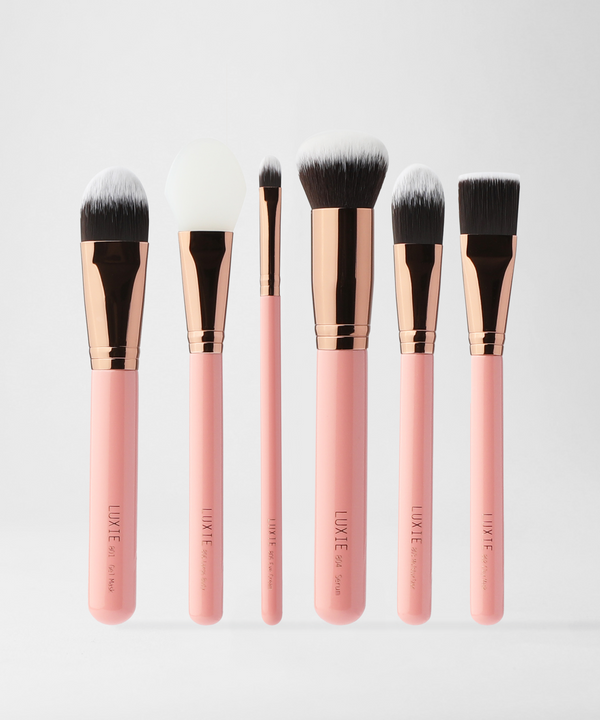
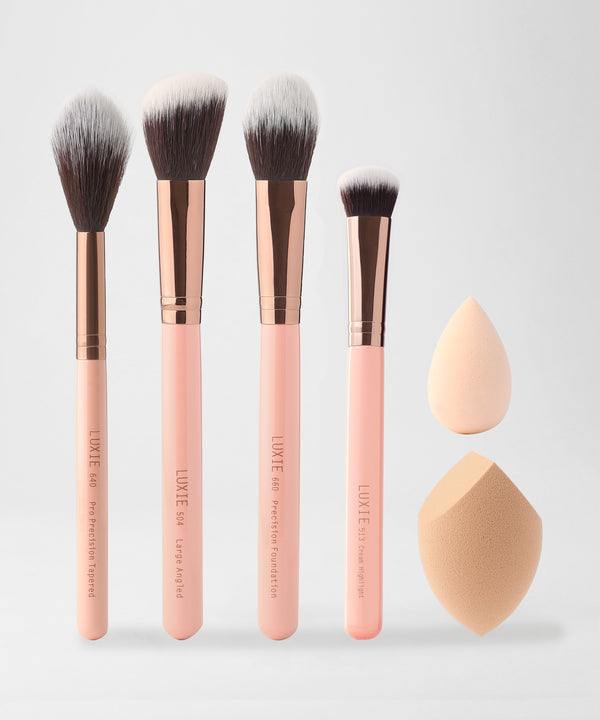
Gently sweep your contour colour below your cheekbones using a soft, angled brush just like our LUXIE ROSE GOLD LARGE ANGLED FACE BRUSH 504 ($16.00) The dense tip of this brush perfectly fits in the hollow of the cheeks. This technique will provide your face the illusion of thinner cheeks and higher cheekbones. Using the same brush, apply contour around your hairline, temples and outmost edge of the face to make them appear narrower. You will look like you have a stronger bone structure and longer visage by drawing a short line just above the jawline and blending it outwards.


- Get instant nose job with by applying your contour colour using a small angled brush just like our LUXIE ROSE GOLD DETAILED ANGLED MAKEUP BRUSH 130 ($12.00). Using the angled tip of this brush, dip it in your contour product and draw a line on both sides of the nose stopping at the nostrils and blend carefully. Pick up more product and dust along the top lip and chin.